So whats firebase?
Firebase is realtime database service, which provides us an API that allows developers to store and sync data across multiple clients.
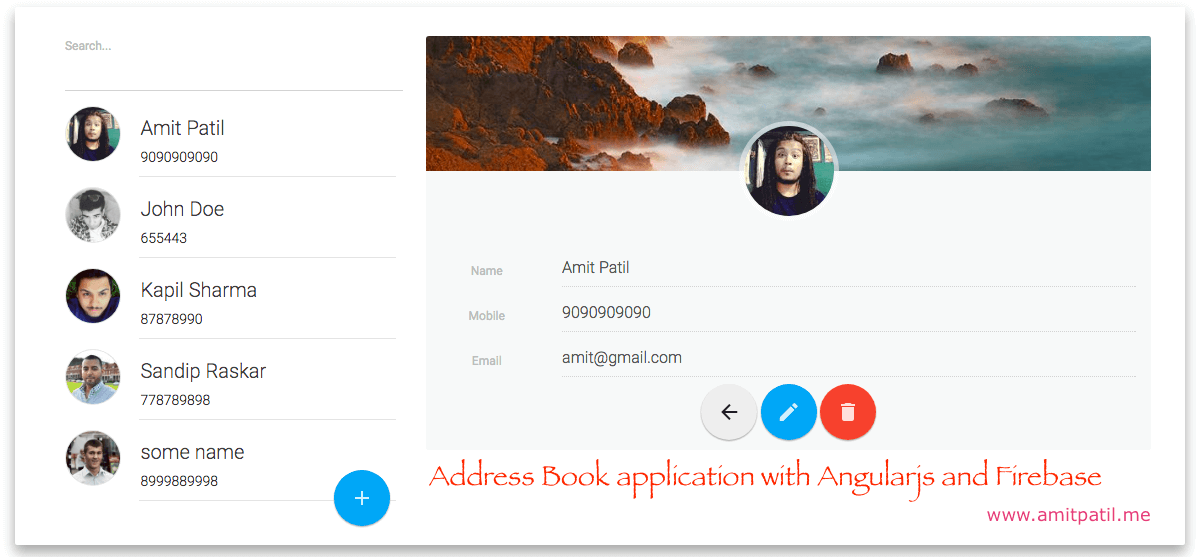
This also gives a power to update contact in real time. This feature actually best suites for real time chatting application, I will try to make a chat application with angular and firebase, in future. Till then lets explore and understand address book application code.
We are using different frameworks and libraries as below
As i said before our main focus is to learn angularjs so i am not going to explain more about firebase, bootstrap material and angularfire library, But to run this script on your pc you need to setup and configure your firebase account. Lets take a quick look at configuring firebase,
Adding firebase to your project
- Create new firebase account here
- Click on add new project, and fill details.
- On next screen you should see “Add Firebase to your web app” icon, click on it and copy the code
- Paste copied code to your index.html page.
- Inside project console sidemenu click on “Database”
- Click on “Rules” tab, you should see something like this
- Change it to
- Click “Publish” to save changes.
at this stage if you try to run your code you should get error like below
angular.min.js:122 Error: permission_denied at /: Client doesn't have permission to access the desired data.
This is because firebase sets some access rules by default, which allows access to this database only if user is authenticatesd. To remove this error we need to change access rules.
|
1 2 3 4 5 6 |
{ "rules": { ".read": "auth != null", ".write": "auth != null" } } |
|
1 2 3 4 5 6 |
{ "rules": { ".read": true, ".write": true } } |
We are also using angular fire library which is angularjs binding to firebase. You can read more here
After adding all necessary files this is how our index.html file will look like
|
1 2 3 4 5 6 7 8 9 10 11 12 13 14 15 16 17 18 19 20 21 22 23 24 25 26 27 28 29 30 31 32 33 34 35 36 37 38 39 40 41 42 43 44 45 46 47 48 49 50 51 52 53 54 55 56 57 58 59 60 61 62 63 |
<!DOCTYPE html> <html> <head> <title>Address Book</title> <!-- Bootstrap Material --> <!-- Material Design fonts --> <link rel="stylesheet" href="http://fonts.googleapis.com/css?family=Roboto:300,400,500,700" type="text/css"> <link href="https://fonts.googleapis.com/icon?family=Material+Icons" rel="stylesheet"> <link href="assets/css/bootstrap.min.css" rel="stylesheet"> <link rel="stylesheet" href="assets/css/bootstrap-material-design.min.css"> <link rel="stylesheet" href="assets/css/ripples.min.css"> <script src="assets/js/jquery.min.js"></script> <script src="assets/js/bootstrap.min.js"></script> <script src="assets/js/ripples.min.js"></script> <script src="assets/js/material.min.js"></script> <script src="assets/js/angular.min.js"></script> <script src="assets/js/angular-ui-router.js"></script> <!-- Firebase --> <script src="assets/js/firebase.js"></script> <!-- AngularFire --> <script src="assets/js/angularfire.min.js"></script> <link href="assets/css/style.css" rel="stylesheet"> <script src="app/app.js"></script> <script src="app/firebase.service.js"></script> <script src="app/userpic.directive.js"></script> <script src="app/controller.js"></script> </head> <!-- apply our angular app to our site --> <body ng-app="contactbookApp" class="container"> <div class="row main" ui-view> </div> </body> </html> <script> // Initialize Firebase var config = { apiKey: "YOUR KEY", authDomain: "YOUR AUTH DOMAIN", databaseURL: "YOUR DATABASE", storageBucket: "YOUR BUCKET", messagingSenderId: "YOUR SENDER ID" }; firebase.initializeApp(config); </script> <script> $(function () { $.material.init(); }); </script> |


This post is very interesting and helpful. I’ll use it in my website.